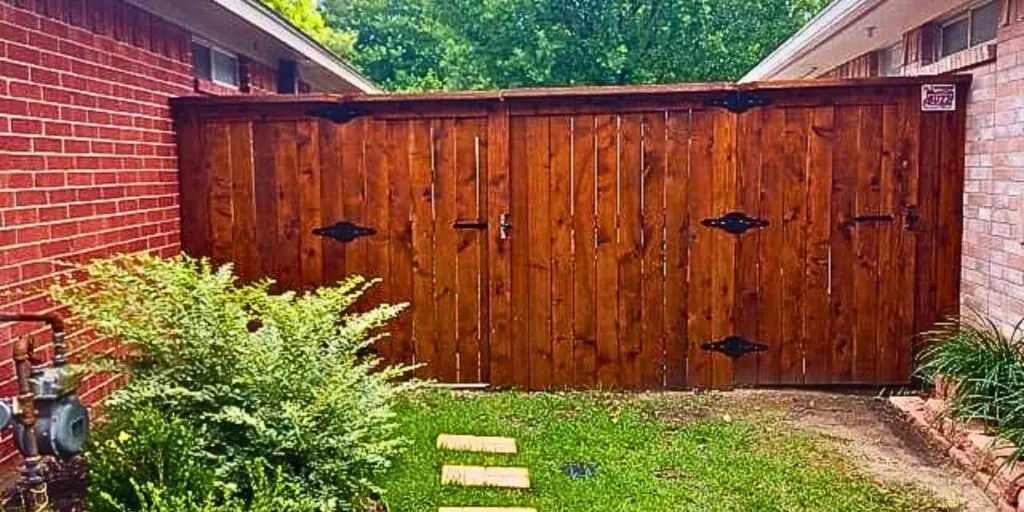
America has a long history of wooden fences, and a house with a white picket fence is a mainstay of the American dream. Many modern people still love both the practicality and tradition of a wood fence, but wood comes in many types. How do you know which types of wood fences are best for your home?
Hardwoods vs. Softwoods
Wood is generally divided into hardwoods and softwoods. This division is confusing, as the names don’t always correspond to the tree’s actual hardness. Usually, hardwoods are harder (as you’d expect), but there are exceptions to the naming convention. Hardwoods have broad leaves and are deciduous, meaning they drop their leaves each fall. Beech, mahogany, ash, oak, teak and walnut are hardwoods. They’re more likely to be used for decorative woodwork and furniture.
Softwoods are from evergreens, trees with needles and cones. For example, cypress, pine, cedar, fir, redwood and spruce are softwoods. This wood, which comes from tall, straight trees, works well for construction. Natural resins in evergreen softwoods repel termites and mold.
Let’s look at some of the most popular softwoods for building wood fences.
Redwood
This beautiful, durable wood is also one of the most costly. Good quality redwood has a deep red color. While lower grade redwood might do for fence panels, be sure to purchase higher grades for the posts. Stain or apply a clear oil sealer to avoid your wood fence turning gray. High-grade redwood stands up to insects and doesn’t rot.
Cedar
Insects abhor cedar’s natural acids and oils, making it an attractive fence-building material. It also tends to warp less than other softwoods. While the bark of Western red cedar is red, the wood is light brown with just a tint of red. Its tight grain and low number of knots make it extremely popular for construction. Northern white cedar is lighter in color, varying from white to yellow. Both types of cedar turn gray with age.

Cypress
This tan to reddish wood is just as durable as redwood, resisting both rot and insects and working well in wet climates. However, if cypress is dried improperly it can warp and twist. This tree is common in the Southeast, especially Florida. But the farther you live from the Southeast, the more costly cypress will be.
Spruce
Spruce is a common choice because of its affordability. It’s often used for prefab, picket posts or stockade-style fences. However, it’s less durable than cypress or redwood. Spruce may warp in damp climates and it often has blemishes and coarse grain. It’s also more prone to insect infestation than other popular types of wood for fences.
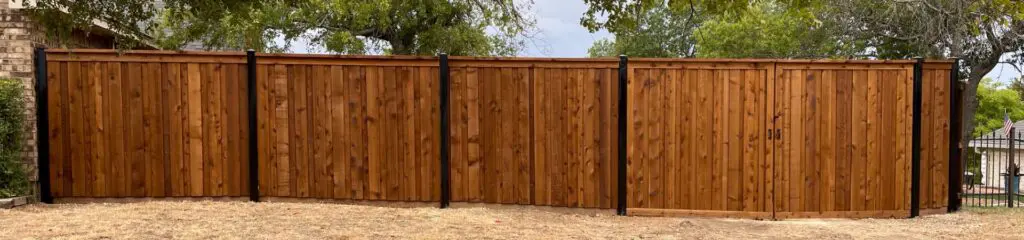
Pine
Pine is another popular option for wooden fences that produces beautiful results. It can be built to surround your yard or your entire property with a system of pickets and boards.
Pressure-Treated Wood
The least expensive choice for a wood fence is to use pressure treated wood. Usually, this is made from southern yellow pine, though fir is sometimes used. This type of wood is treated with chemicals to protect it from insects and rot. Some of these chemicals are highly toxic to humans and animals, especially arsenate. Pressure-treated wood should last at least 20 years, and may even come with a limited lifetime warranty. It starts out green and turns gray with age. Look for kiln-dried, rather than air dried, pressure-treated wood, as this type is less likely to warp.
Frequently Asked Questions
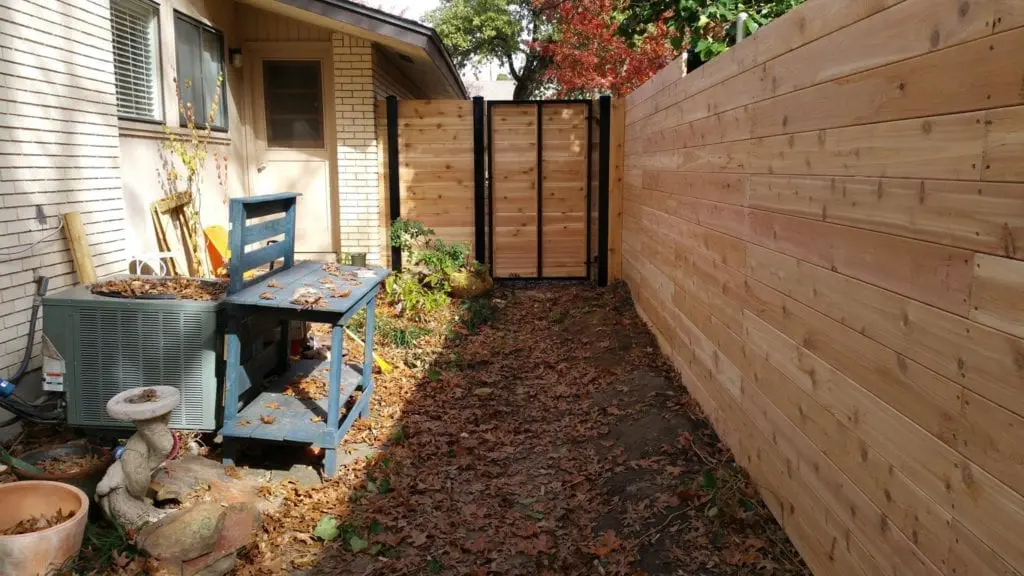
What kind of wood is used for horizontal fences?
Hardwoods are typically the best choice for horizontal wood fencing but softwood and pressure treated wood can also work.
What is the best material for fencing?
The best materials are long-lasting types of wood that also look great in your backyard.
What type of wood fence lasts the longest?
Hardwoods typically last longer but any wood fence can last for years with proper care and maintenance.
If you want to know more about the best choice for your wood fence, call us today. We’d love to help you weigh the pros and cons of cypress, redwood, and other popular softwoods.